This section describes creating the circuit board and assembling the BeerBoi.
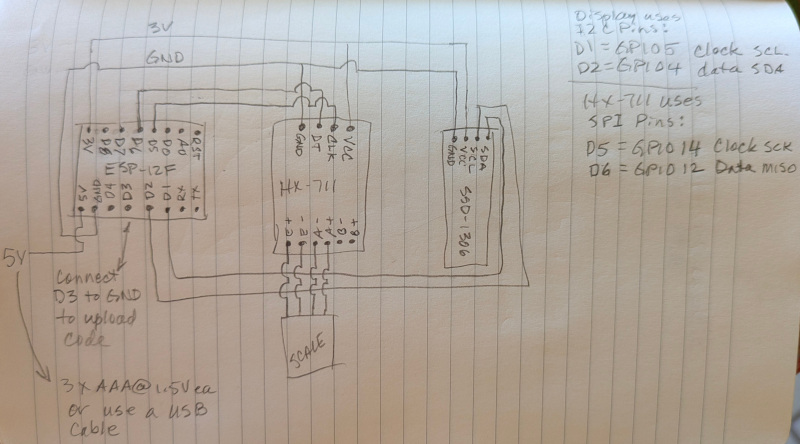
Here's a drawing of the circuit layout of the boi:
This is a simpler layout than last version, I'm using the voltage regulator that is built into the ESP-12F. This can be powered either by batteries connected to the 5V pin (3 AA or AAA batteries is close enough) or via the USB port. BeerBoi 1.0 used a barrel connector from a wall wart, but this is more flexible and needs one less part and less wiring and soldering.
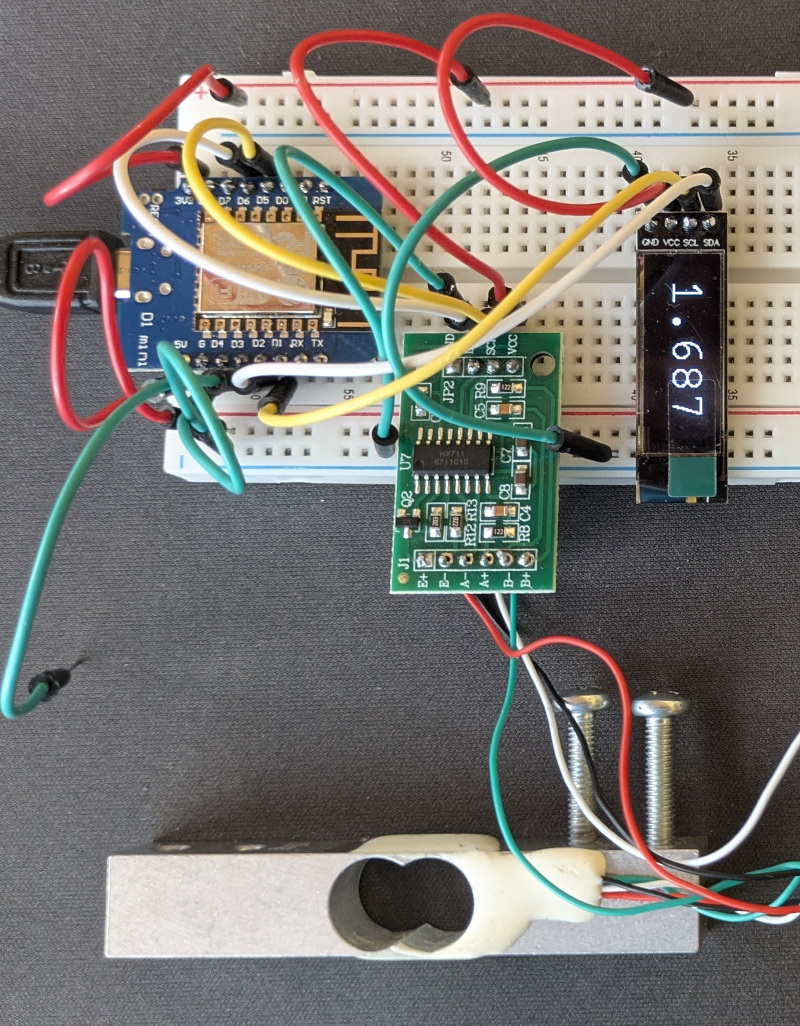
A picture of it running on a breadboard. The green wire heading out of the bottom left corner isn't
connected to anything, it gets connected to ground when uploading the code to the ESP-12F. In this picture,
the power is coming from the USB cable, then output on the 3V pin of the ESP-12f to power the HX-711 and
SSD-1306 display from the top + rail of the breadboard. I'm using the bottom
— for ground on all components. I also have a battery pack containing
3 AAA batteries that puts out 5V, with the positive
connected to the bottom + rail on the breadboard
and the negative connected to the bottom — rail on the breadboard. This puts 5V into the ESP-12F, then
the ESP-12F puts out 3V on the top + rail of the breadboard to power the HX-771 and the SSD-1306 display.
I arranged the parts better on a 3 cm x 7 cm prototype board:
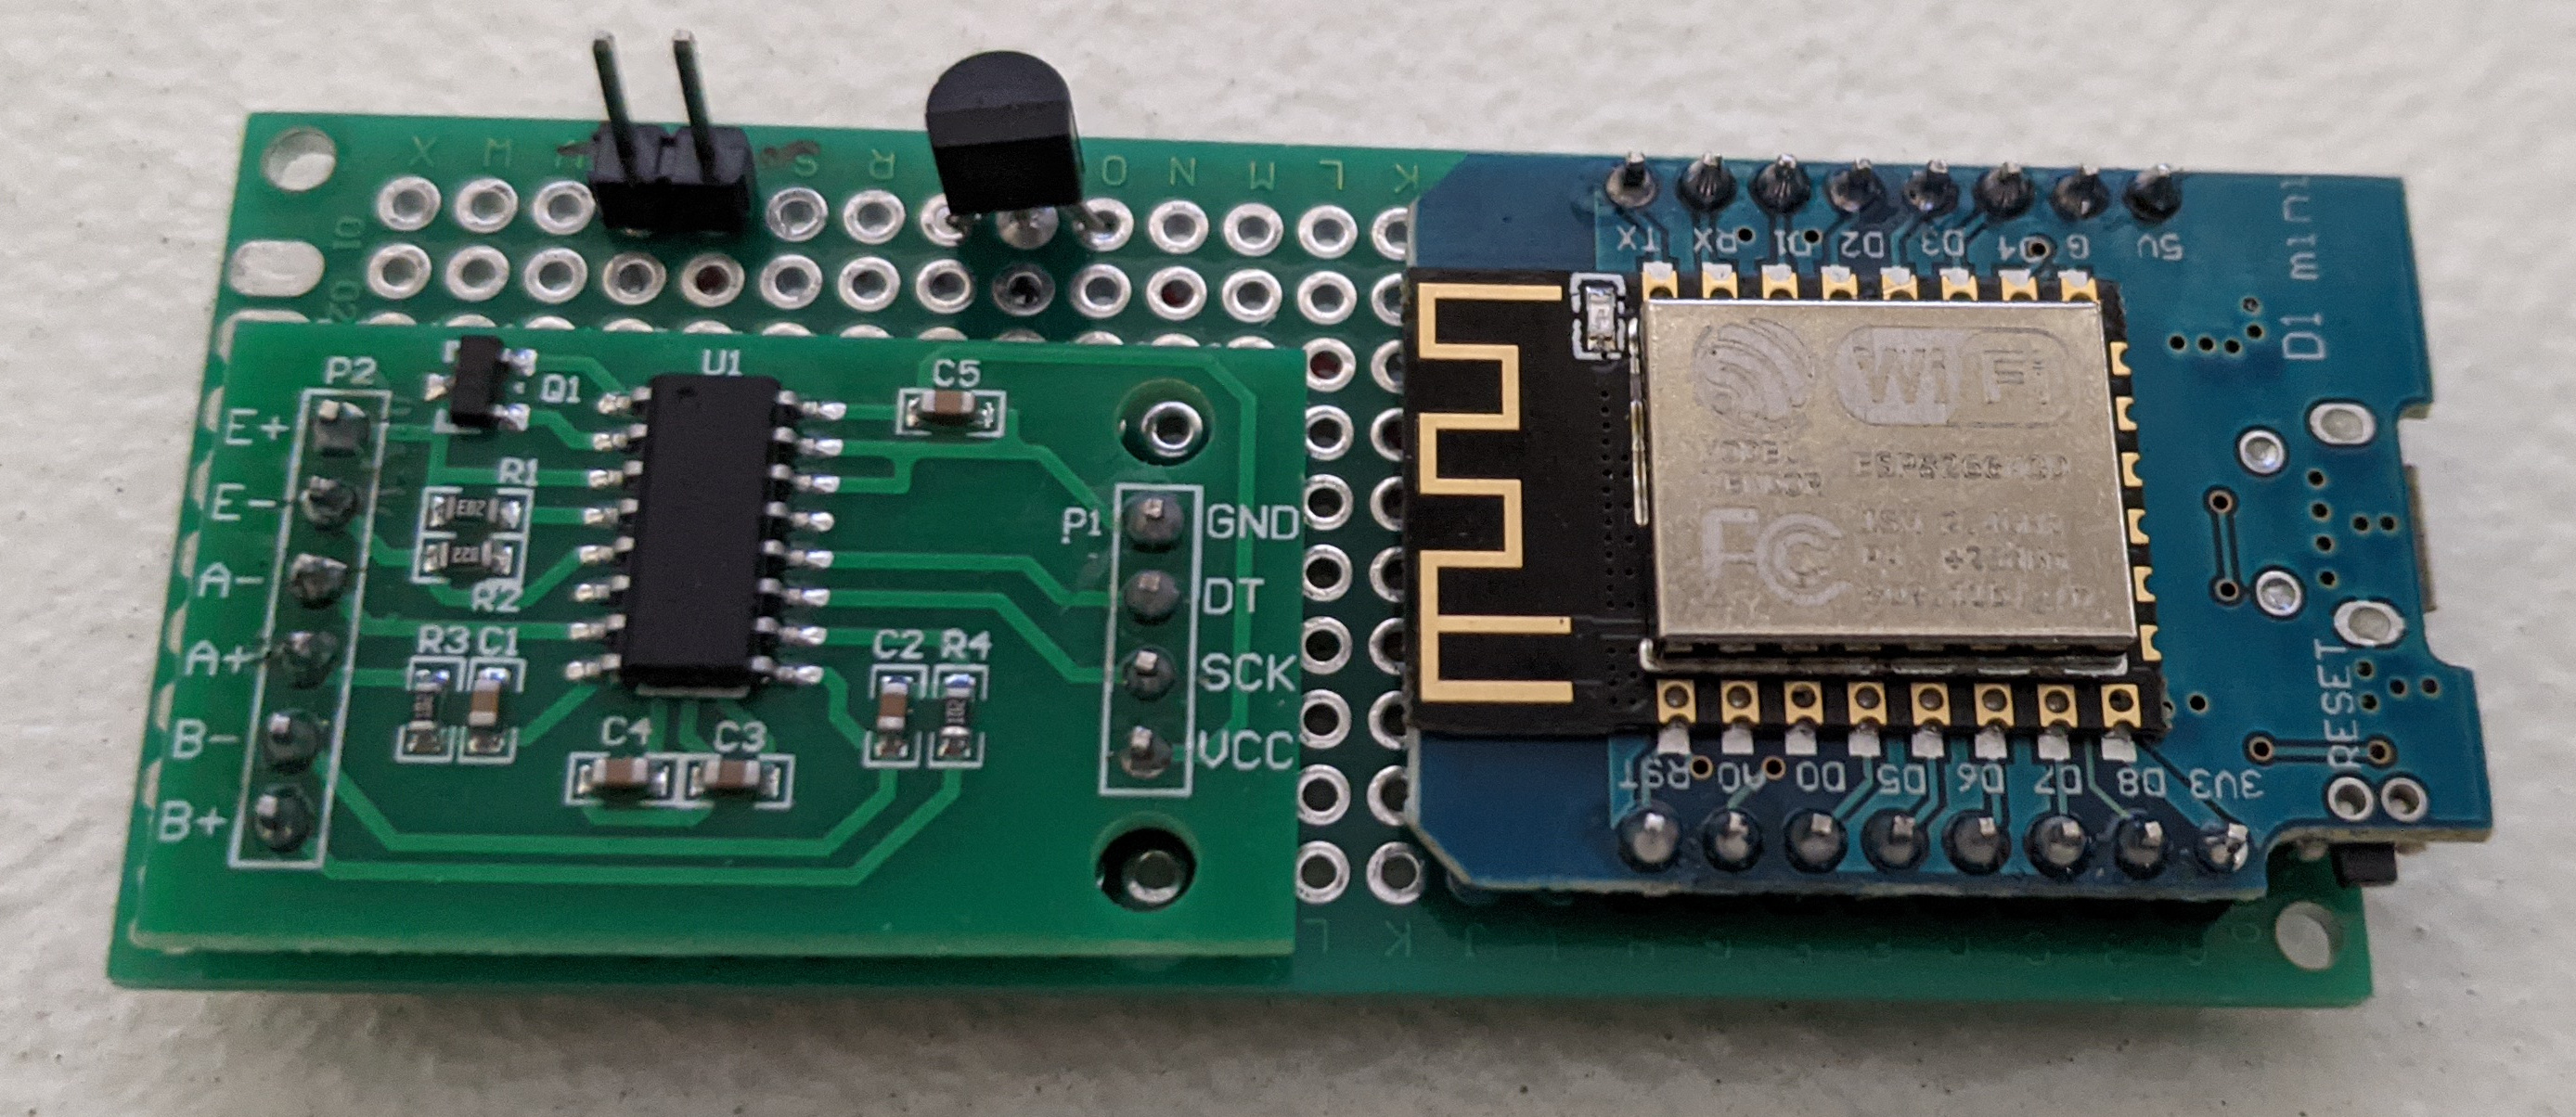
I left out the push button, and added a connector for power.
Underside of the circuit board. Not in place when I took the picture is the pins for the
power connector. I had originally soldered the power directly to the circuit board (the 2 wires
going out to the left), but I wanted to be able to take it apart if necessary.
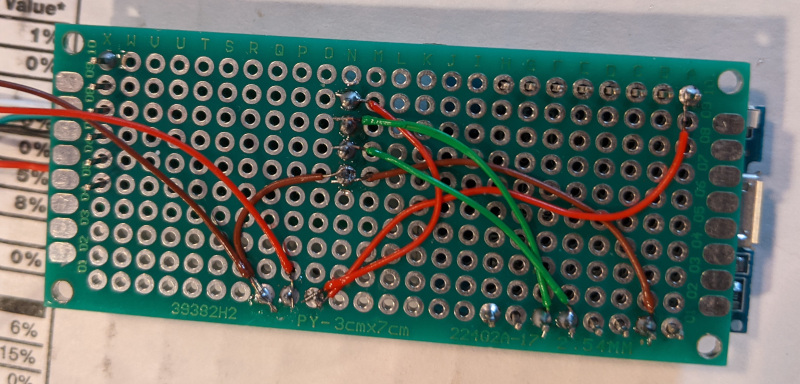
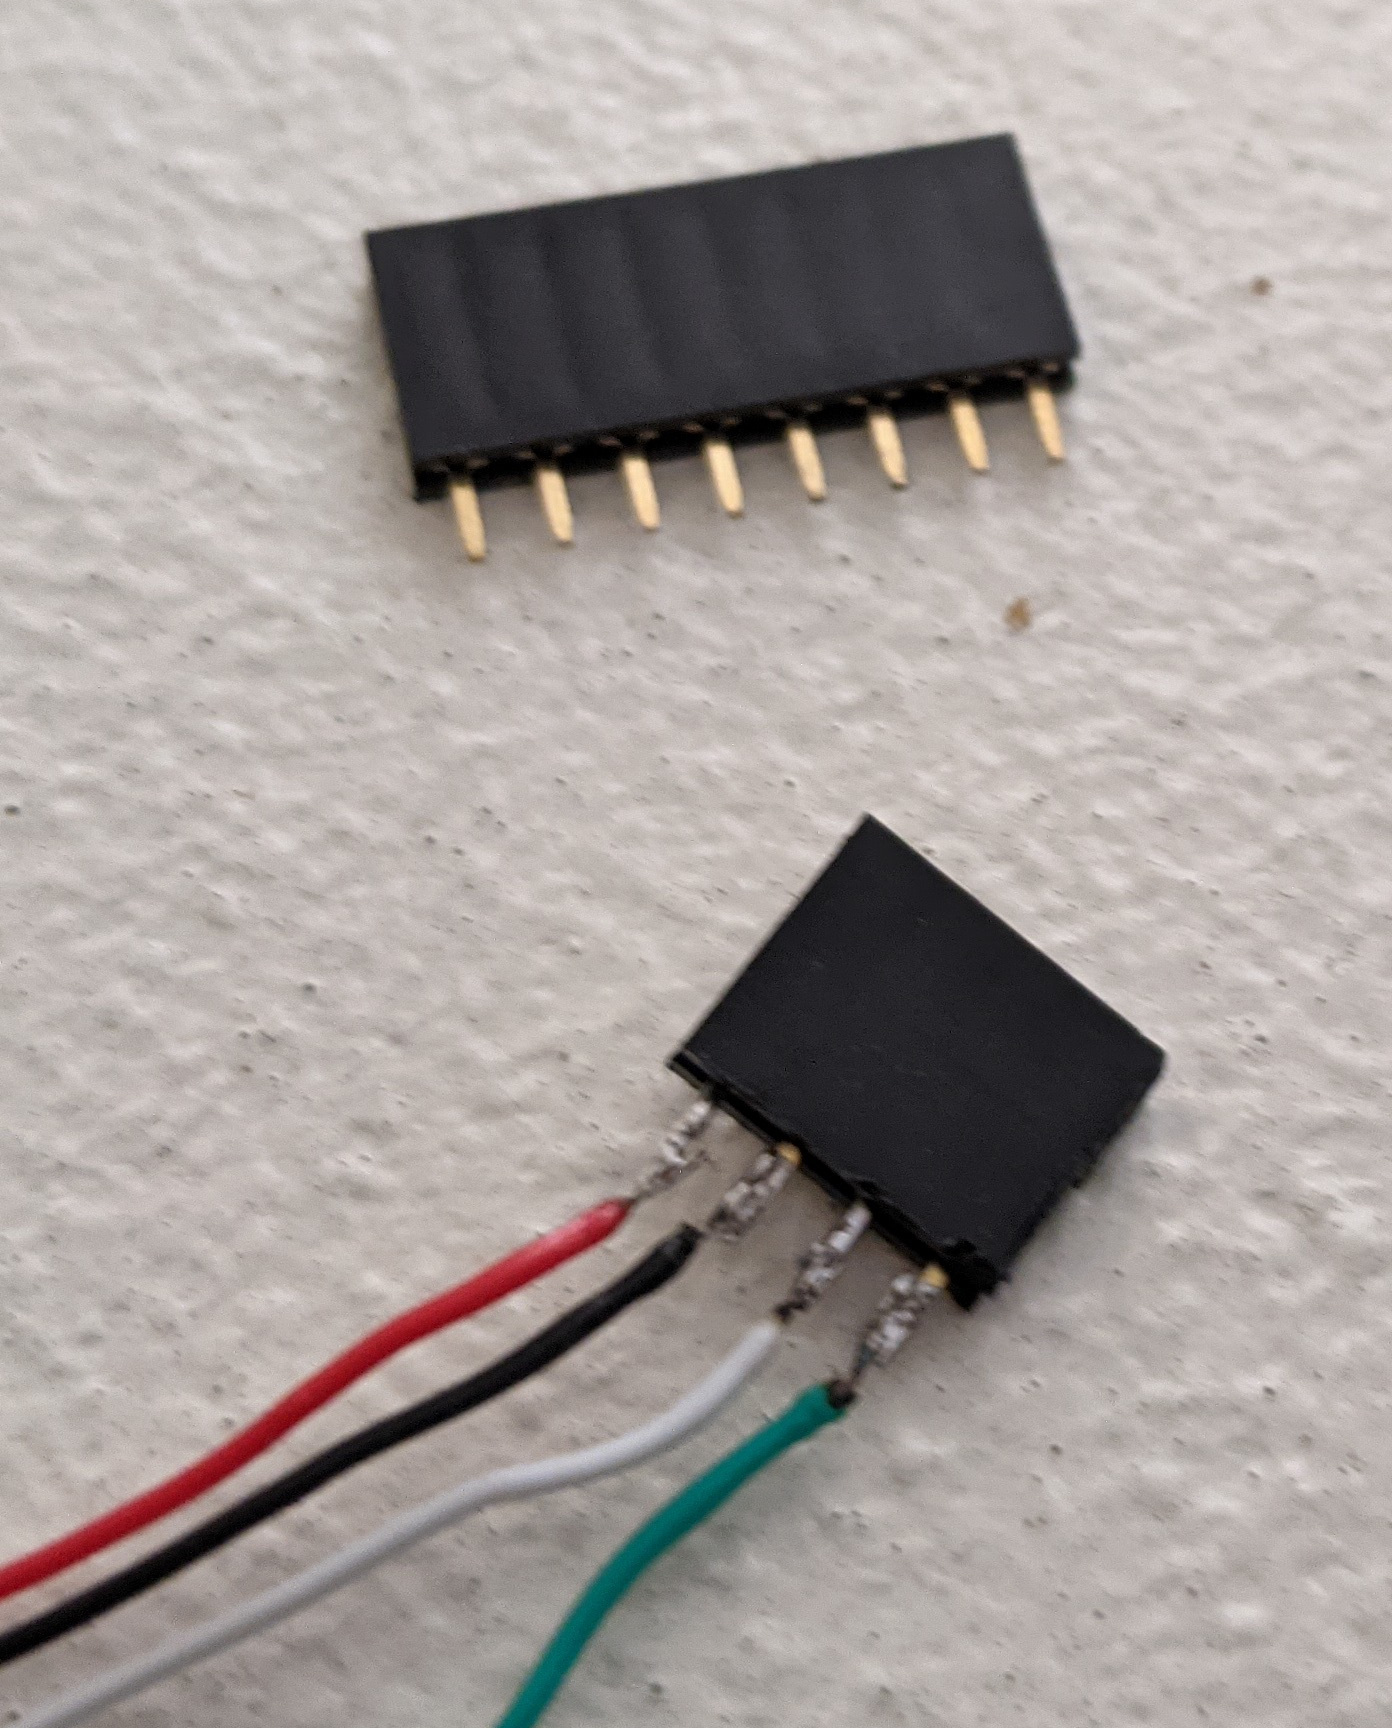
I cut up one of those things (what are they called?) at the top of the picture to make
connectors for both the scale and the power.
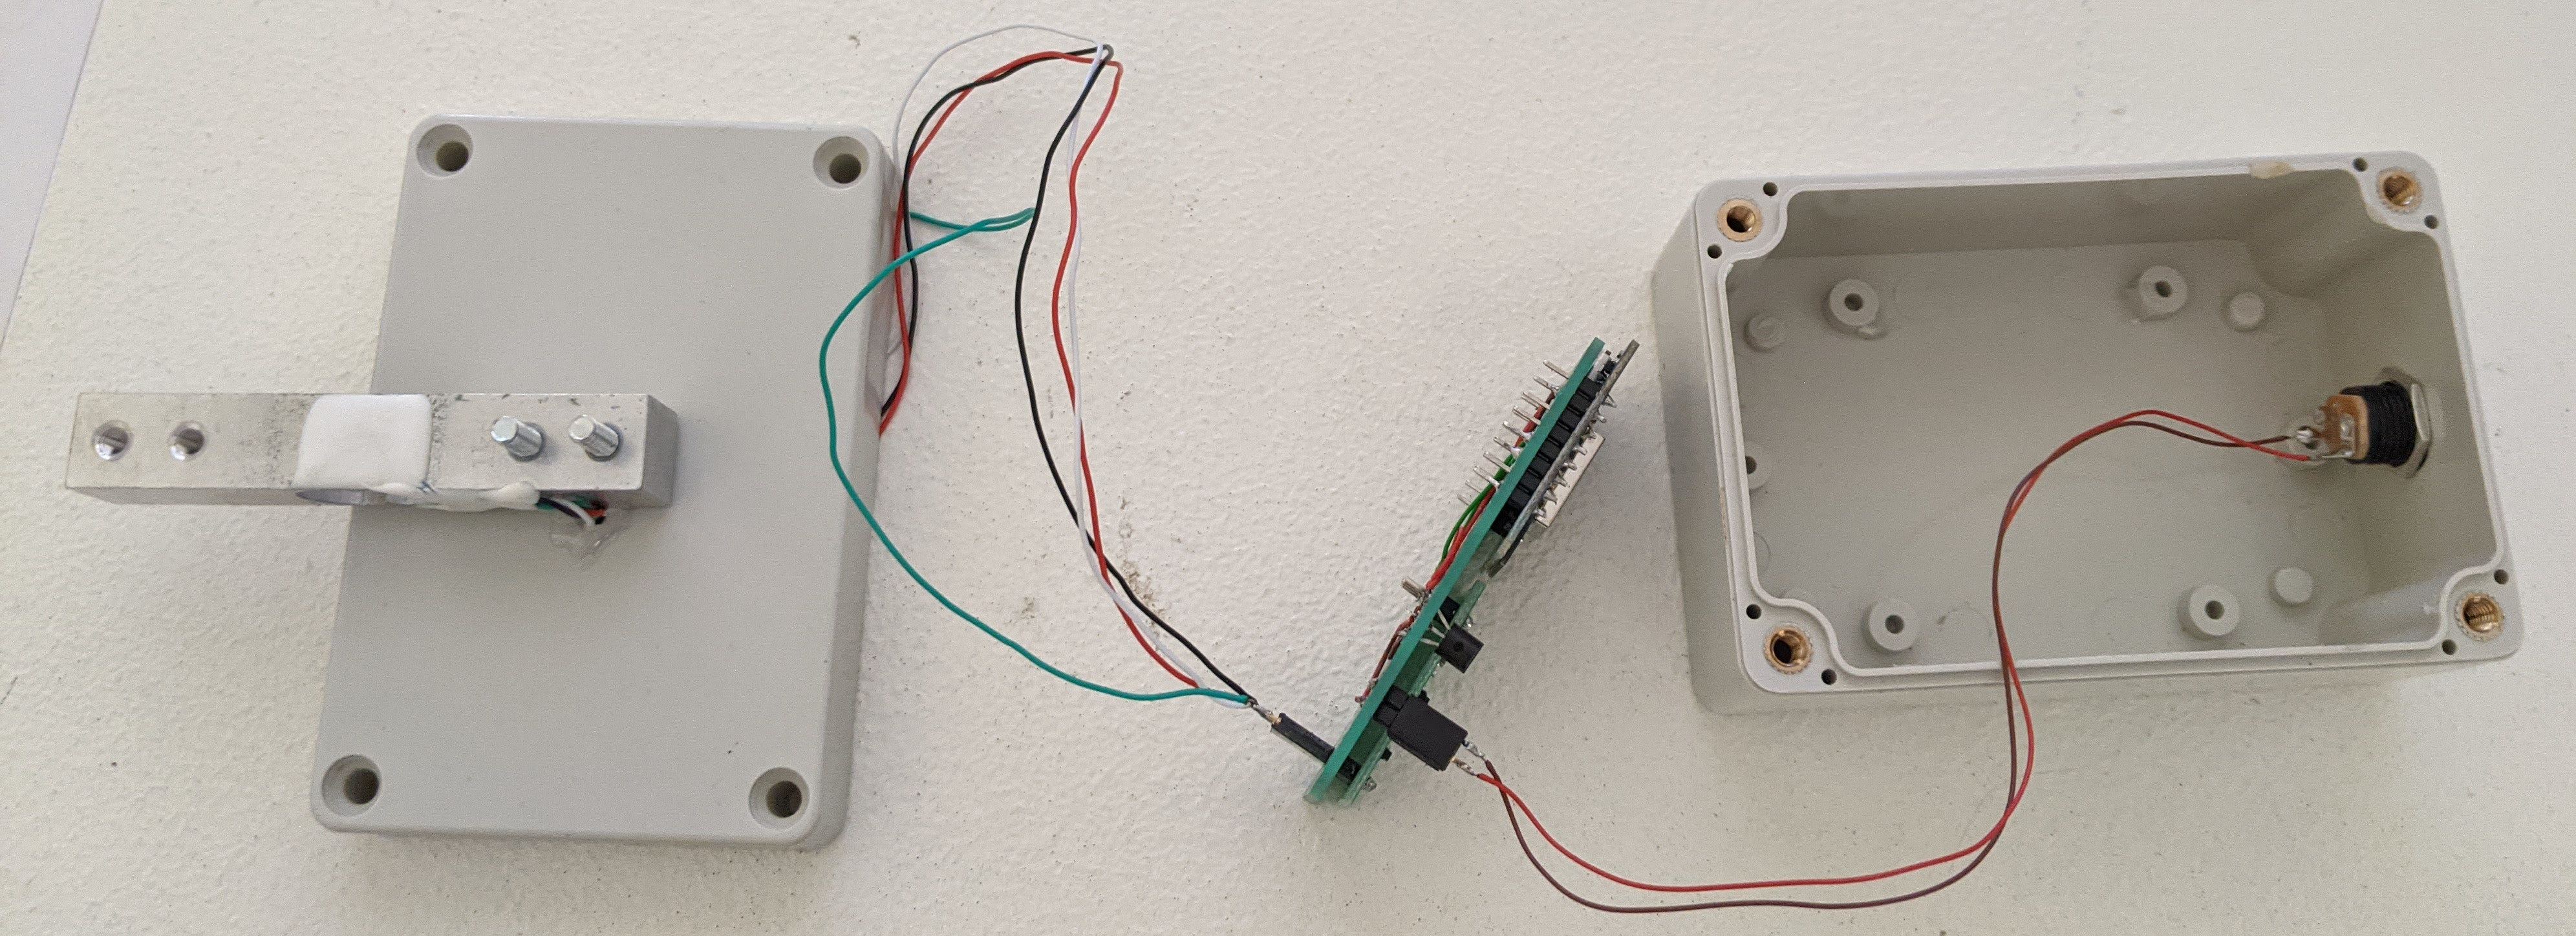
Here are all the parts put together:
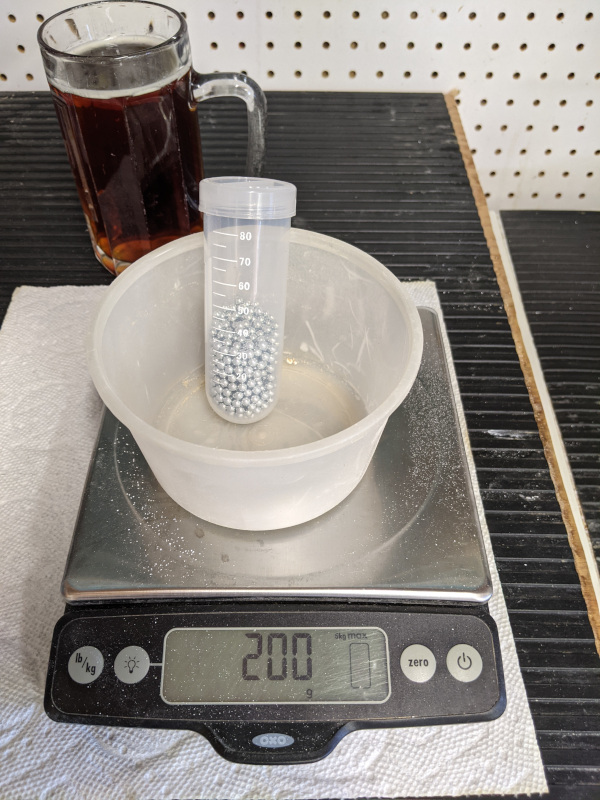
The boi is filled with enough BB's so it weighs 200 grams. I sealed the screw cap on the boi
with clear silicone sealant on the threads, then screwed the cap on.
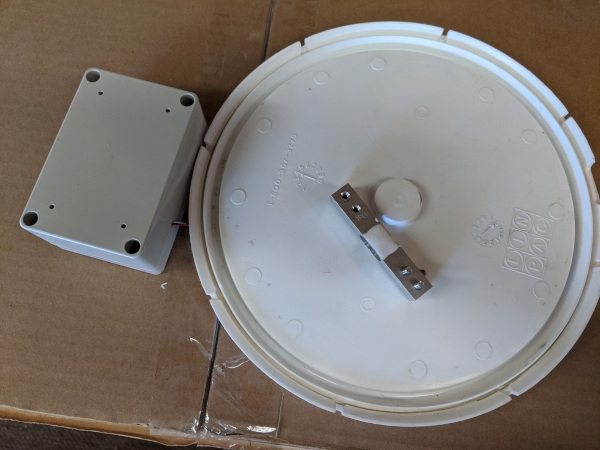
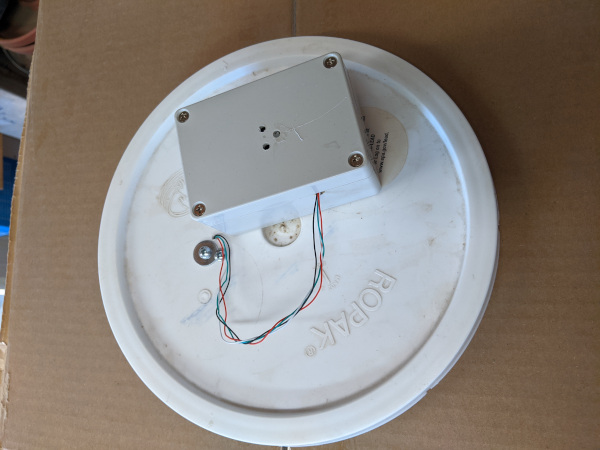
After I went to assemble it on a fermenter lid, I decided it would be better to put
the scale on the inside of the fermenter lid rather than on the outside attached to the
lid of the electronics box. There isn't much to it, it's just an aluminum bar with some
fine wires connected to it. After I bolted it to the inside of the fermenter lid, I hit
it with some spray-on Flexseal to give it a little extra protection.
Don't mind the dirty lid, I set this up for testing in a 2 gallon paint bucket with some DME
mixed in water with a starting gravity of 1.054. This isn't going to be something
drinkable in the end.
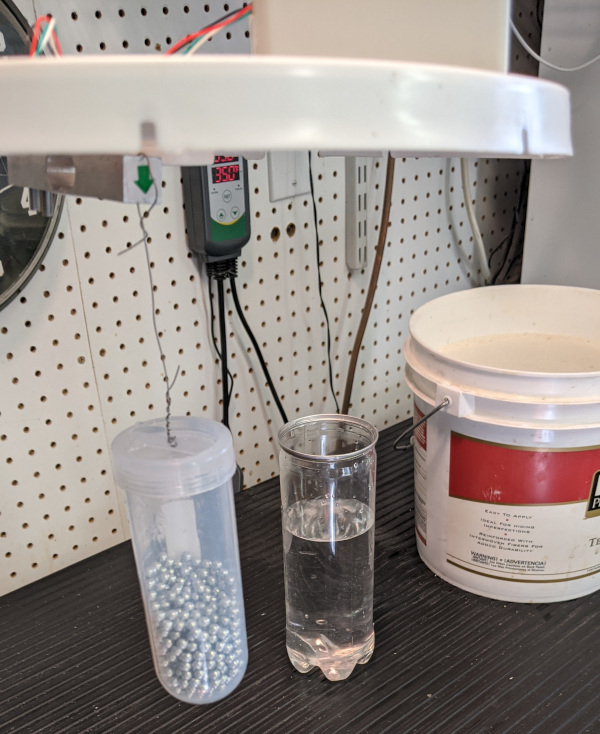
All together, ready to put on the fermenter. The wire that the boi is hanging from is
stainless steel. Notice the direction of the green arrow, it should point down.
I did dry and wet calibration just before putting it into the fermenter. It's an odd perspective
in the picture, the container of water looks like it is slightly smaller than the boi, but it's
actually quite a lot larger.